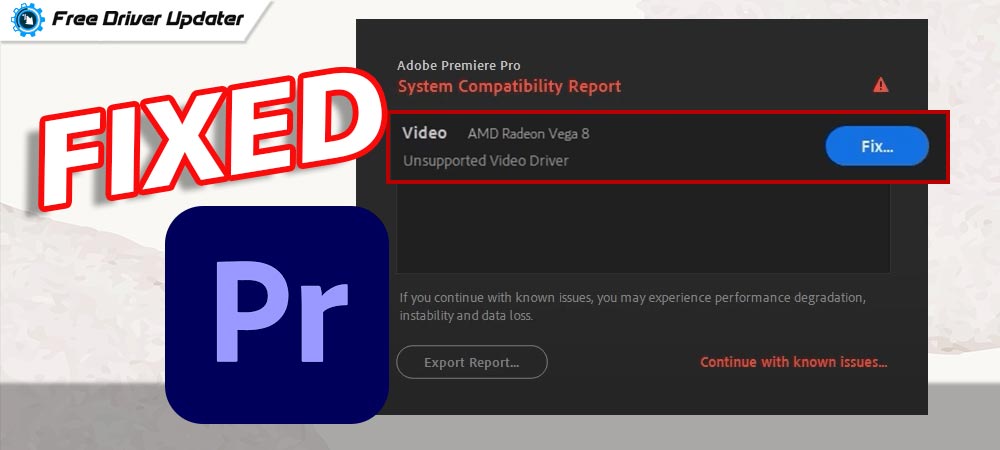
Adobe Premiere Pro is a software that enables users to edit real-time videos within a defined timeline. It is used to create amazing video content. Although the software manufacturers provide regular updates for bug fixes and improvements yet many users reported issues with it. The error Unsupported video driver is displayed as the Adobe Premiere Pro is launched. Also, thereafter the program crashes.
Before finding the solution to the error it is important to identify the cause of the Unsupported video driver error. In most cases, users come across a particular error due to incompatible graphics drivers installed on their Windows devices. Also, the error can occur if the drivers are faulty, missing, or outdated. In case the Adobe Premiere Pro is unable to recognize the graphics driver the error can be triggered.
Therefore to fix unsupported video driver error, it is important to have compatible and updated graphics drivers installed on your PC. You can manually update drivers from the official website of the manufacturer. Else, an easy way out is to download the Bit Driver Updater tool. The utility tool allows you to update all the drivers with a single click.
If you are here and having the same error on your PC the article will help you find solutions for how to fix unsupported video driver error in no time.
How to Fix Unsupported Video Driver Error?
The following methods can be used to fix unsupported video driver error message. Move down the list of solutions to find out the one that works for your device.
Method 1: Update Graphics Driver
The correct drivers help in passing the right set of commands to your operating system and offer a medium to communicate. You can manually update drivers or use an automatic driver updater software.
Manual Method to Update Graphics Driver
To fix unsupported video driver error in your Adobe Premiere Pro you can update the graphics driver through the official website. Use the following steps to update drivers using the manual method.
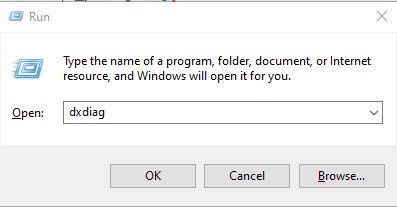
Step 1: Use the Windows and R keys together on the keyboard to open the run command box.
Step 2: Enter the dxdiag command in the search bar and then press enter key.
Step 3: In the window of the DirectX Diagnostic tool navigate to your respective Display device and copy the information of the graphics card.
Step 4: Now in your browser open the support link of the official website of the manufacturer i.e NVIDIA, INTEL, AMD, or Asus.
Step 5: Search the compatible drivers for your graphic card and download it. Double-click and run the downloaded executable file.
Step 6: Follow the instructions displayed on your screen to install it and restart your computer to apply changes.
Once the PC restarts, check if the updated driver could fix the unsupported video driver error.
Also Read: How to Update Video Card Driver on Windows 10: A Tutorial
Automatic Method to Update Graphics Driver
The manual method requires extra effort and technical knowledge. Therefore an alternate method to update outdated drivers is by using driver updater software. The Bit Driver Updater tool allows you to update all the pending drivers automatically. Moreover, the quick scans, backup of driver data, 24*7 support, and enhanced PC performance is additional advantage that comes with the tool.
The tool enables users to schedule driver updates at their convenience. Plenty of other features are also unlocked if you switch to the Pro version of the Bit Driver Updater tool. Also, the upgrade comes with a 60-day money-back guarantee and all-day-long technical assistance which makes it worth trying. Bit Driver updater makes driver updates simple and efficient. All the updates are certified and reliable.
Download the Bit Driver Updater tool from the link below and update or schedule the updates for system drivers automatically. money-back
Run the downloaded file and Install the tool with help of the on-screen instructions. Now use the steps below to update drivers on your device using Bit Driver Updater.
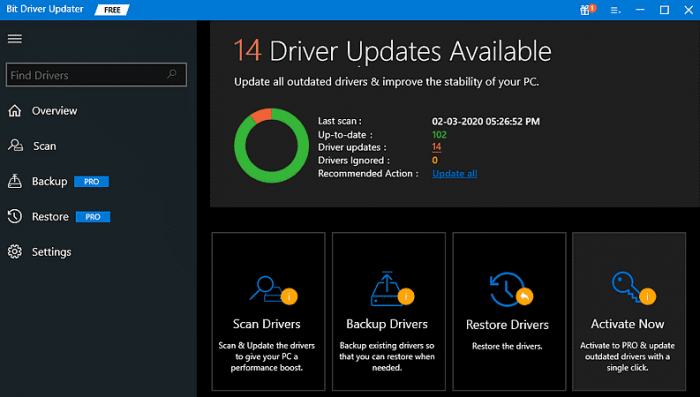
Step 1: Begin the driver scan with the Scan drivers option and hold on till the list of outdated drivers is displayed.
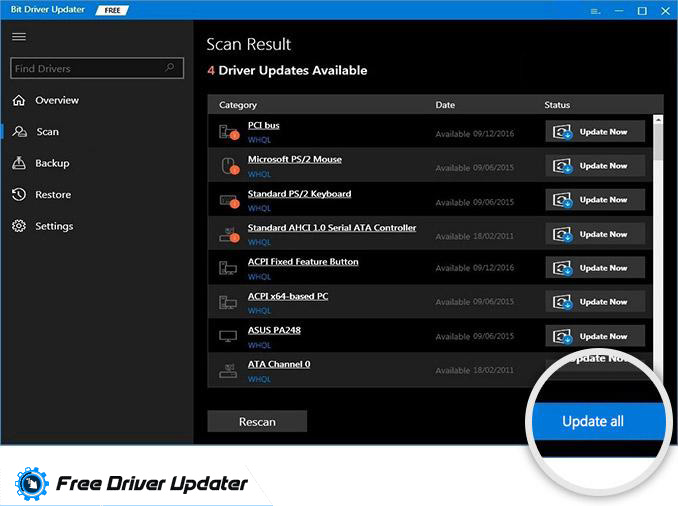
Step 2: Find the Graphics driver from the list and click on the Update Now option present next to it.
Note: For Pro users of the software an option to update all the drivers is available i.e Update All. However, users who have not upgraded to the Pro version can update these drivers manually one at a time.
Step 3: Install the downloaded file with the instructions on your screen.
Restart your computer and check if the updated drivers could fix unsupported video driver errors. In most cases, the issue is resolved with a driver update. However, if the error remains, move on to the next method.
Also Read: How to Fix Video Driver Crashed and Was Reset [Complete Guide]
Method 2: Update Adobe Premiere Pro
If you have installed the updated graphics drivers on your Windows device and the unsupported video driver error remains check pending updates for the software. Adobe releases timely updates to fix the bugs and enhance the user experience. Open the official support page for Adobe Premiere Pro. Download and Install the updates for the software. Restart your computer to apply these updates and check if the update could fix unsupported video driver error message.
Also Read: How To Download, Install and Update HDMI Driver on Windows 10
Unsupported Video Driver Error in Premiere Pro: FIXED
The above article can guide you through the process to fix unsupported video driver error. Use the above-mentioned methods to have fully functional Adobe Premiere Pro software without any interruptions. Make sure you have installed the updated graphics drivers that are compatible with Premiere Pro. Use the Bit Driver Updater software to automatically update graphics and other system drivers.
For any queries or further assistance leave your comments below. Also, if the guide helped you fix the error subscribe to our blogs for more informative and problem-solving technical blogs.


