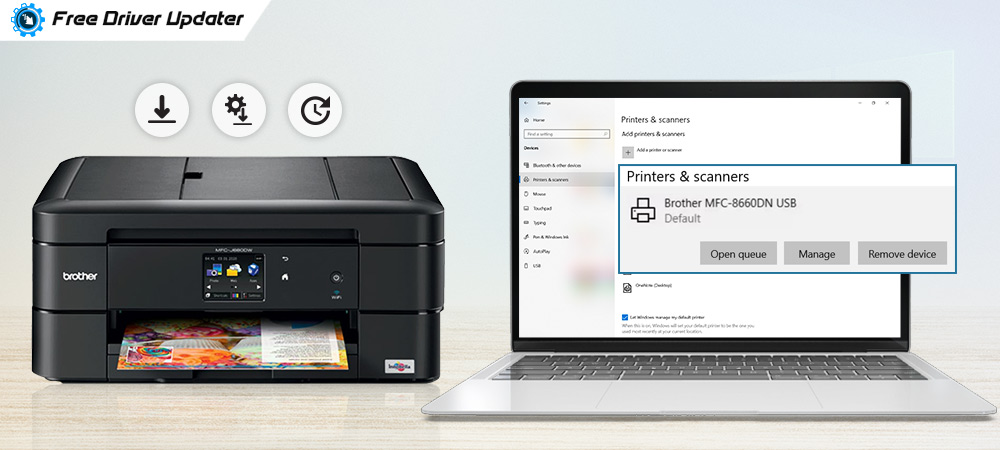
Brother printer, a multipurpose printer definitely offers a lot of advantages over the regular printers of other brands but many users don’t understand how to install Brother printer simply and swiftly. Therefore, if you are looking for answers to questions like how to install such a printer, then this blog is the right place to offer relevant answers.
This post will guide you through the steps to connect, download Brother printer drivers, and install them effortlessly.
The Absolute Way to Download & Install Brother Printer Drivers:
The best method to install Brother printer on your PC is with the help of the Bit Driver Updater tool as the tool can easily install the required drivers on your PC swiftly. You can obtain the tool by clicking the below button.
Ways to Install and Connect Brother Printer
So, let us now look at the steps to install and connect a Brother printer in detail through this tutorial.
Way 1: Establish a Connection Between Your PC and Brother Printer
The first and foremost step is to connect the brother printer with the computer. You can do this wirelessly or with the help of a USB cable.
Also Read: Fix: USB Device Descriptor Request Failed Error in Windows 10
You need to note that as soon as you have successfully connected the Brother printer with your system, it should install the Brother printer for you on the computer.
However, if this fails to happen, then you can look at the subsequent steps to learn how to install the drivers for your printer manually as well as automatically.
Below are the steps to connect the printer correctly:
Step 1: Connecting the Brother Printer Via USB Cable:
Following are the instructions to connect your Brother printer with the help of a cable.
- You need to check what kind of ports the printer and the computer have and you have to use a USB cable accordingly. You can either go for ‘Parallel cable,’ ‘Ethernet cable’ or ‘USB AB cable’ type as per the available ports in your Brother printer and the computer.
- Once you have figured this out, you will have to then connect the cable to the printer and the PC and start your system.
Step 2: Connecting the Brother Printer Wirelessly:
This is another way to install Brother printer drivers on your computer. For this, you can opt for two options viz; connect the printer using the WPS button or from the printer’s control panel.
A. Connect the Brother Printer Wirelessly With the WPS Button
Check to find out if the printer has a WPS pairing button similar to that of the WiFi router. You can press the WPS buttons on both for sometime and wait for the connection to be established automatically.
B. Connect the Brother Printer Wirelessly From the Printer’s Control Panel
If the Brother printer doesn’t have a WPS button, then you can head straight to the Wireless Settings on the printer’s control panel and enter the WiFi name and password as per the on-screen instructions.
Also Know: Fix Printer Not Responding Error on Windows 10,8,7
Way 2: Configure the Brother Printer Manually
Once you have successfully connected the Brother printer and the PC, if the installation of the Brother printer did not happen automatically, then you can configure the printer on your Windows 10 computer manually as per the below described steps.
Step 1: Firstly, switch on the Brother printer.
Step 2: Open the Windows 10 Settings app and click on the Devices section.
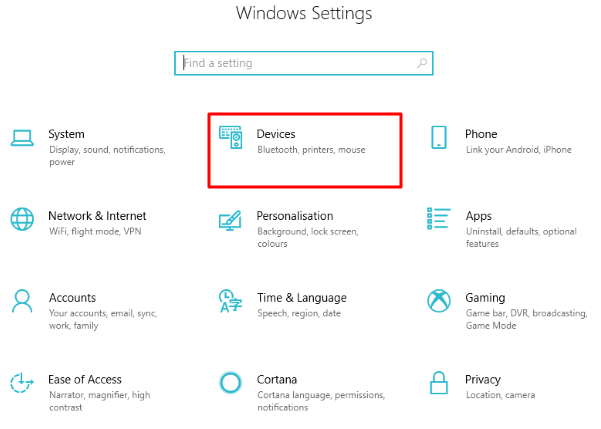
Step 3: From the side panel, choose the Printers & Scanners option.
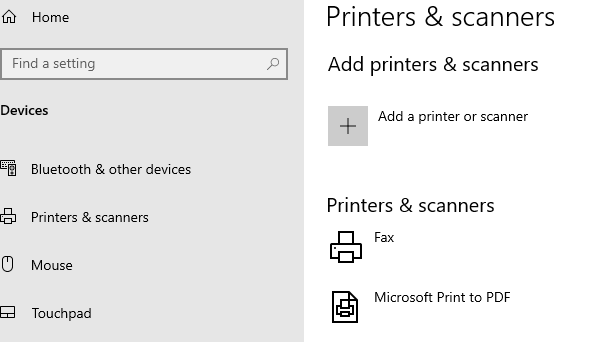
Step 4: On the main screen, click the “Add a printer or scanner” option.
Step 5: Then, choose the Brother printer which you want to add and click on the “Add device” option.
Step 6: You will need to wait for sometime for the installation of the Brother printer to complete.
Alternatively, you can avoid the manual steps and download Brother printer drivers automatically.
Bonus Tip: Know About Best Free Driver Updater Software For Windows 10, 8, 7
Way 3: Automatically Update the Brother Printer Drivers
If you wish to install Brother printer without any hassles, then here is an excellent way to do it with the help of the Bit Driver Updater.
The Bit Driver Updater will recognize the hardware devices such as the Brother printer on its own and also detect the missing Brother printer drivers on the Windows 10 system.
Not only this but it can also take care of the system drivers from time to time and maintain them effortlessly by replacing or update outdated drivers with the latest ones, rectifying the faulty drivers with the correct ones, etc.
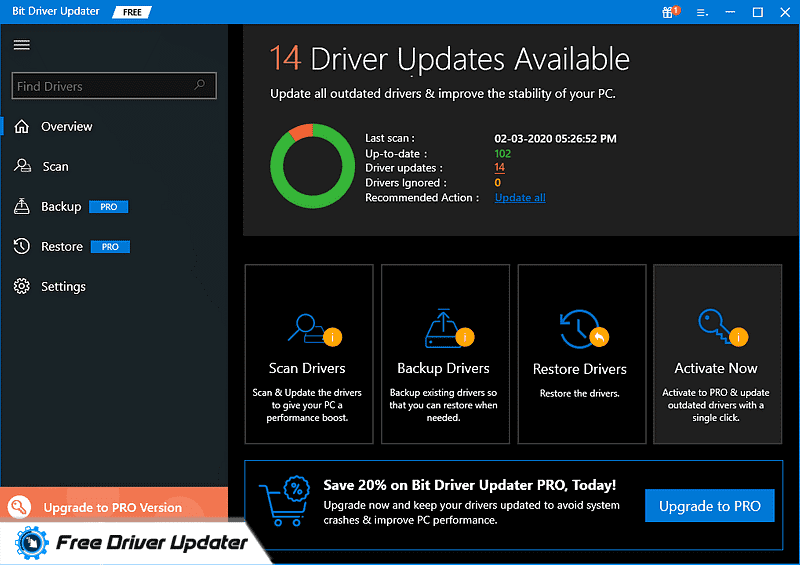
Few Advantages of Using the Bit Driver Updater are as Follows:
- Improves startup time by 50 %.
- Stabilizes and enhances system performance.
- Offers the option to schedule scans.
- One-click update button provides the convenience to update the lengthy list of drivers at one shot.
- Downloads only WHQL certified drivers for your computer.
- Provides the option to exclude certain drivers from scanning by adding them to the Ignore list.
Steps to Download and Install Brother Printer Drivers Through Bit Driver Updater:
Step 1: Download the Bit Driver Updater from the official website or click the download link below. Then, install it on your Windows PC.
Step 2: Double click on the tool to start it.
Step 3: Click the Scan button on the tool to detect drivers that are missing or need repairing.
Step 4: The tool will quickly retrieve the list of such drivers that have to be updated.
Step 5: You can click on the Update Now button to fix all the drivers immediately. This will also make the tool install the Brother printer drivers on your system automatically.
Conclusion:
Thus, this is how you can download Brother printer driver and install the Brother printer on your Windows computer. We discussed the manual as well as the automatic way of doing it. If you lack time and expertise, then going the automatic way is the best option for you.
Let us know if you have any questions or suggestions in the comments section below.


