Download the latest intel chipset drivers version on your Windows PC effortlessly through the easy and simple method discussed in the article below.
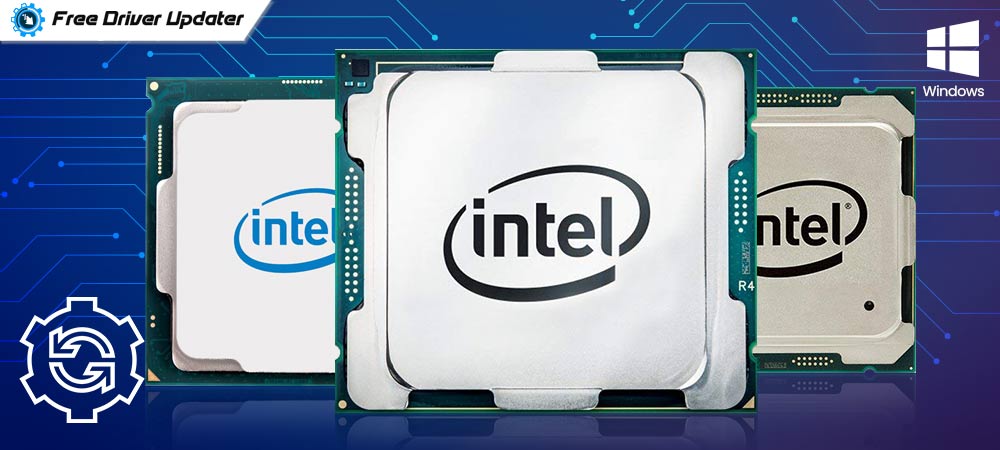
Intel Chipset is a set of electronic components in the CPU of a computer system. Chipset helps in connecting the CPU with the rest of the computer or the device connected to it.
Intel Chipset drivers are a very crucial set of software files for the proper flow of data from the CPU to all other devices. Any issue with the Intel Chipset drivers leads to a large number of problems for the users.
This article is a complete guide on How to update intel chipset drivers? Quickly and easily on a Windows operating system PC. Three different ways to perform the task of the Intel Chipset INF update program are discussed in this article.
Highly Recommended Method To Download Latest Intel Chipset Drivers
Among all the different methods discussed in this article, the method which is most preferred and recommended by the many experts is to use Bit Driver Updater software. This particular software is capable of updating all the faulty and corrupt device drivers immediately on the user’s PC. The whole process to use Bit Driver Updater is given below. You can download the software by clicking on the download button below.
List of Different Methods To Download and Update Intel Chipset Driver Utility on Windows PC
There are several ways to download the latest version of Intel® Chipset device software on Windows operating system PC. Here one can find the most beneficial and effective ways of doing the same.
Method 1: Use The Microsoft’s Device Manager To Run Intel Chipset INF Update Program (Manual Method)
The first way of updating the Intel Chipset INF software file is by Device Manager which is an inbuilt component of the Microsoft Windows operating system. Follow the steps below:-
1. On your computer’s keyboard press the Window logo key and the X together.
2. From the menu that appears on the screen click on Device Manager.
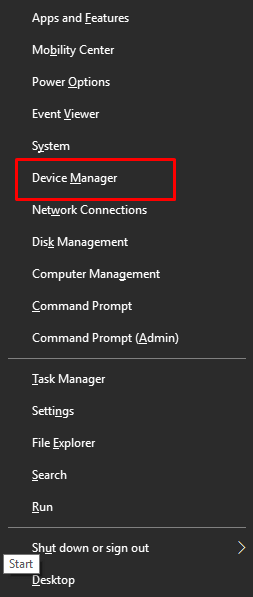
3. Now in the Device Manager window search for the System devices option and expand it.
4. In the drop-down list locate the Intel Chipset driver and right-click on it.
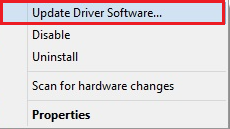
5. Select the option of Update driver from the box.
6. Lastly, click on the option of Search automatically for drivers from the next page.
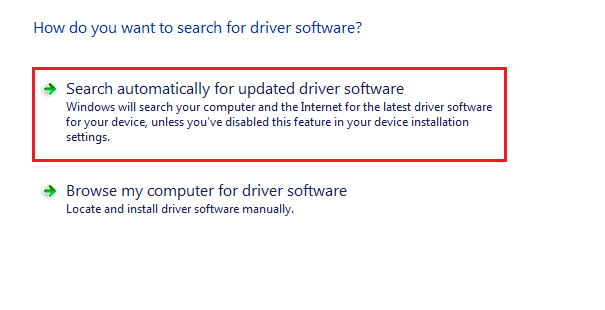
Now the rest of the work will be completed by the Windows operating system. Users are just required to restart the computer device once, soon after the process is finished.
Also Read: Download Intel Management Engine Interface Driver on Windows 10,8,7
Method 2: Visit Intel’s Website To Download and Install Intel Chipset Drivers (Manual Method)
The next way of downloading the latest driver file for Intel Chipset INF is to download the file from the official website of Intel. The steps to this process are explained below:-
1. Click on the link here to directly head to the Intel website.
2. Now click on the Download Center button on the website.

3. Select your product in this case, Chipsets.

4. Choose the specification for your Intel Chipset and after that click on the download button.
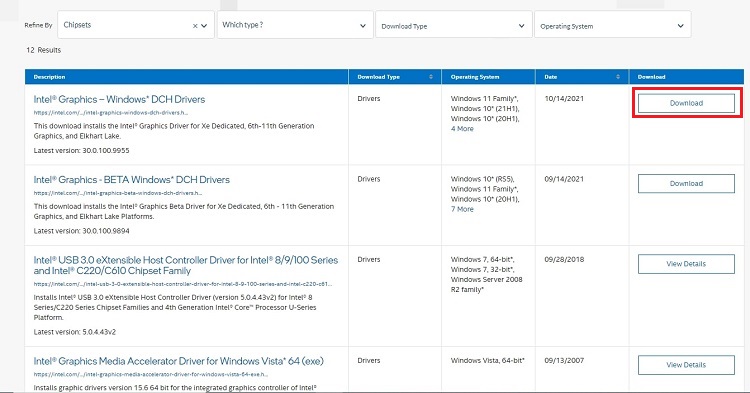
5. Once the file is downloaded, install the same on your PC and at the end restart your computer device.
The two methods that are discussed above are the manual methods. These methods are effective but consume so much time. That’s why many users prefer going with the automatic method that is explained below.
Also Read: Intel Wi-Fi 6 AX201 Not Working on Windows 10, 8, 7 {FIXED}
Method 3: Update Intel Chipset Drivers Automatically Using Driver Updater Application (Recommended Method)
The best and the most effective way to update Intel Chipset drivers on a Windows PC is through a driver updater application. Users are advised to use the Bit Driver Updater application for updating not just the Intel Chipset drivers but to update all the faulty and outdated device drivers on the PC.
The correct instructions to download and use the Bit Driver Updater software are given below, go through each step accurately and precisely:-
1. Click on the Download button below to get the Bit Driver Updater application of your Windows PC.
2. After downloading the application on your PC, install it on your computer device as per the instructions given by the application itself.
3. Now launch the application on your PC, search and select the Scan Drivers option on the home screen of the application.
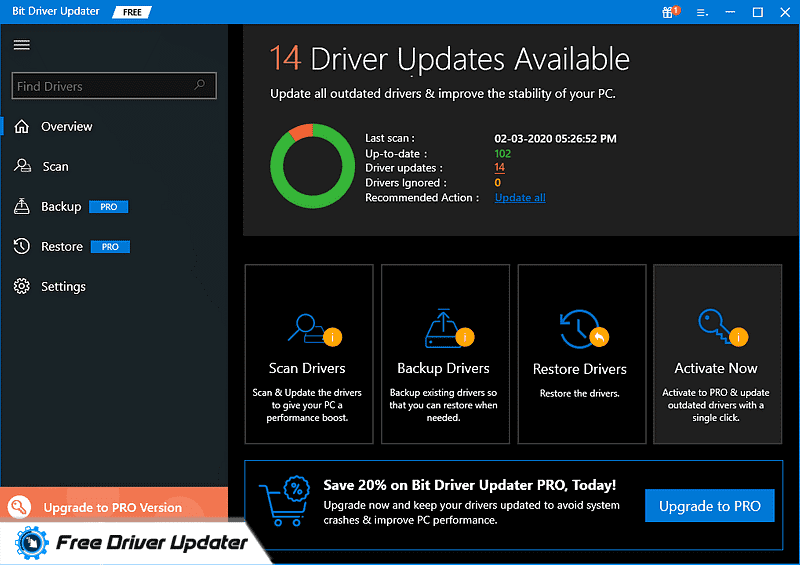
4. The Bit Driver Updater application will start scanning your device and will search out all the corrupted and outdated driver files on the PC.
5. Now you are given two choices to update device drivers, first press the Update Now button in front of a driver to update only that driver.
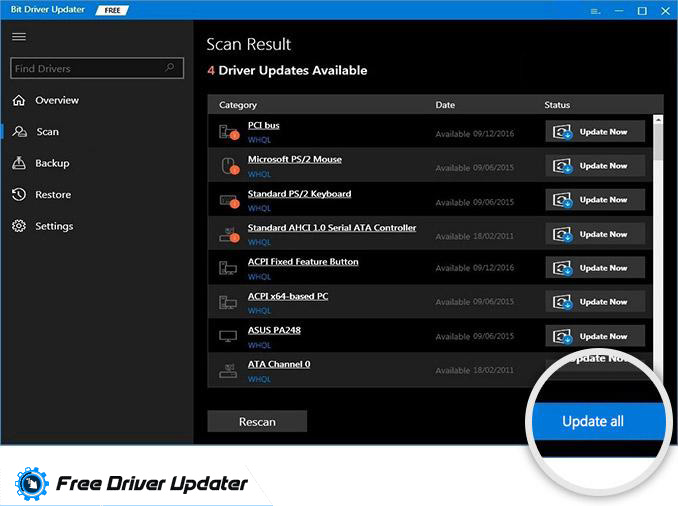
6. And the second one is to press the Update all button from the bottom to update all the outdated device drivers on the PC.
With just a few clicks users can update all the outdated device drivers on their computer device and enhance the performance of the same using the best driver updater application, Bit Driver Updater.
Also Read: How to Download and Update CPU Drivers in Windows 10
How to Update Intel Chipset Drivers for Windows 10, 8, 7: Conclusion
Here we come to the end of this article on How to update Intel Chipset drivers for Windows OS computer systems. The best ways of performing the task of the Intel Chipset INF update program are discussed in this article.
It is up to the user to choose the most suitable way of updating the Intel Chipset drivers, but as already mentioned above the most recommended way of doing the same task is through Bit Driver Updater.
Lastly, share your view on this topic in the comments section which is provided below for the readers.


